Setup PSM Certificate for PSM Gateway
Setup PSM Certificate for PSM Gateway
Optional Self-Signed Certificate
Us this script to generate a self-signed certificate if there in’t an internal CA avalilable.
1
New-SelfSignedCertificate -DnsName "cyberarkpsm.domain.com", "psmserver1.domain.com", "psmserver2.domain.com" -NotAfter (Get-Date).AddYears(3) -TextExtension @("2.5.29.37={text}1.3.6.1.5.5.7.3.1") -KeyLength 4096 -KeyExportPolicy Exportable -CertStoreLocation "cert:\LocalMachine\My"
PSM Server Change Certificate
1
2
3
4
5
6
7
8
9
10
#Copy the thumbprint for the certificate you have the Private Key of (usually the personal certificate of the machine unless the customer followed your instructions to build the CA from scratch)

Get-ChildItem "Cert:\LocalMachine\My"

#Set the path for where the thumbprint will be seen by RDS
$PATH = (Get-WmiObject -class "Win32_TSGeneralSetting" -Namespace root\cimv2\terminalservices)

#Execute the change
Set-WmiInstance -Path $PATH -argument @{SSLCertificateSHA1Hash="<INSERT-Thumbprint-HERE>"}
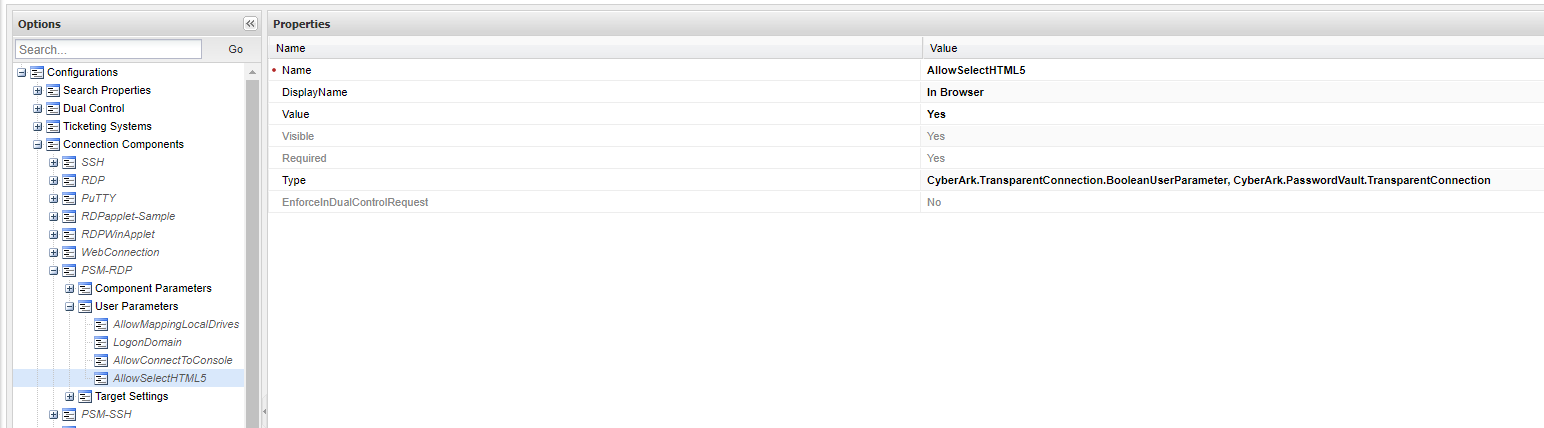
In the Privilege Cloud web portal. Goto Administration -> Configuration Options -> Connection Components -> PSM-RDP -> User Parameters.
Configure the connection component to use the HTML5 GW.
Name:
1
AllowSelectHTML5
DisplayName:
1
In Browser
Value:
1
Yes
Type:
1
CyberArk.TransparentConnection.BooleanUserParameter, CyberArk.PasswordVault.TransparentConnection
This post is licensed under CC BY 4.0 by the author.